Today I learned about adult desserts (i.e. contains alcohol), wine pairings, and making multi-course meals in three episodes of an online cooking course.
Cooking Course
I just finished Chef Bill Briwa’s online cooking course, “Rediscovering the Lost Art of Cooking.” I decided to watch the final three episodes of the course, which are
- A Few Great Desserts for Grown-Ups
- Thirst: The New Frontier of Flavor
- Crafting a Meal, Engaging the Senses

Adult Desserts
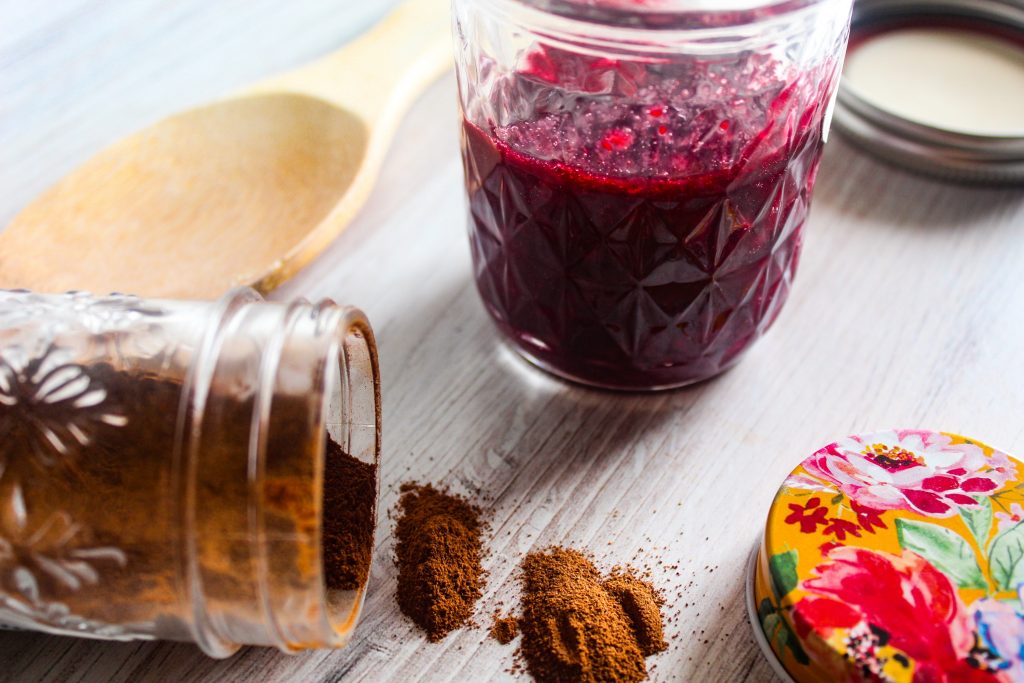
This episode focuses on simple desserts that appreciate ripe fruits, a little sugar, and good alcohol. Chef Briwa recommends a simple and versatile treat called Bachelor’s Jam. To make this jam,
- Find ripe fruits, whatever is in season. Chef Briwa uses blackberries, raspberries, blueberries, red currants, peaches, and nectarines.
- If the fruit is large, like a peach, then dice it up. If it’s small, like a blueberry, then leave it whole.
- Add fruit and approximately 1 cup of sugar per pound of fruit to a large bowl.
- Add enough high-proof alcohol to cover the fruit. Chef Briwa uses brandy, but vodka, rum, or another high-proof alcohol will work. Stir the mixture to dissolve the sugar.
- Put the mixture in an airtight container, like a canning jar, and let sit at room temperature for at least 2 or 3 weeks.
- The alcohol works as a preservative, so the jam can stay at room temperature for awhile. If it begins to run low, you can add more fruit, sugar, and alcohol to top it off.
After the jam has set for a few weeks, it is ready to eat. You can eat it alone with a spoon or incorporate it into a larger dessert. Chef Briwa recommends,
- A simple parfait with bachelor’s jam, whipped cream, and granola.
- Greek yogurt with bachelor’s jam and toasted, sliced almonds on top.
- Angel food cake, bachelor’s jam, and whipped cream.
- An aromatic, washed-rind cheese (muenster, limburger, epoisses, etcetera) and bachelor’s jam.
With recipes like this, you can enjoy simple, homemade desserts year-round.

Wine & Food Pairing
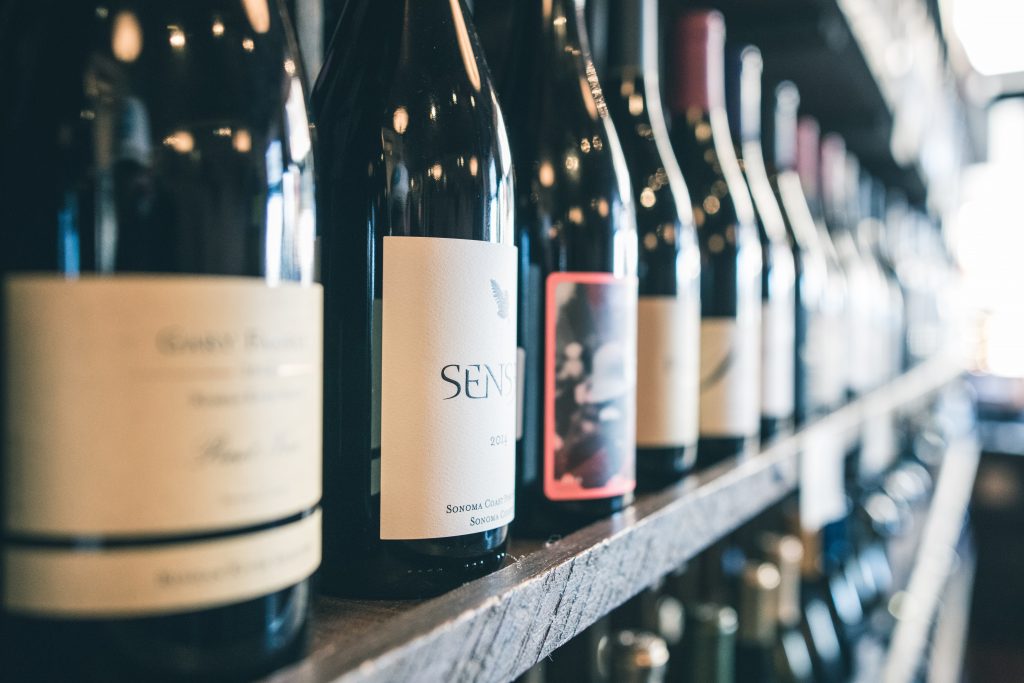
I have not developed a taste for wine, but I’ll remember Chef Briwa’s Six Steps for Wine & Food Pairing whenever I decide to have a glass. I learned to,
- Taste the wine and know what defines it.
- Is it sweet or dry? Tannic or smooth? Is it acidic? Is it alcoholic and hot or low-alcohol and soft? What aromas and tastes can you discern?
- Evaluate the weight and intensity of the wine.
- How ripe or extracted are the flavors? Is it soft and smooth on the palate or heavy and coating?
- Decide what to cook.
- Match the weight and intensity of the wine to the food.
- Decide what defines the dish you want to cook. You can always come back to the interplay of the five basic tastes: salty, sweet, sour/acidic, bitter, and savory.
- Decide what technique to use to cook the food.
- A technique like steaming leaves the inherent flavor and vitality of the food intact. A technique like braising draws out deep, complex flavors but removes the vitality of a dish. Sautéing incorporates oil, grilling incorporates smokiness and char. This is all to say, the technique matters just as much as the food itself when determining the end flavors of a dish.
- Build relationships between the wine and the food.
- Know the defining qualities of the wine (#1-2). Know the defining qualities of the dish, including its technique (#3-4). Make sure these are compatible. A perfect glass of wine and a perfectly made dish will still clash if their respective qualities are incompatible.
- Season the food appropriately.
- Chef Briwa recommends taking a sip of wine. Then taking a bite of food. Then adjusting the dish to balance with the wine. Just a pinch of salt or a few drops of lemon juice may make a world of difference in how the food pairs with the wine.
With this guidance, pairing wine and food shouldn’t be a shot in the dark, though it’ll take experimentation to master the craft of pairing.

Crafting a Meal
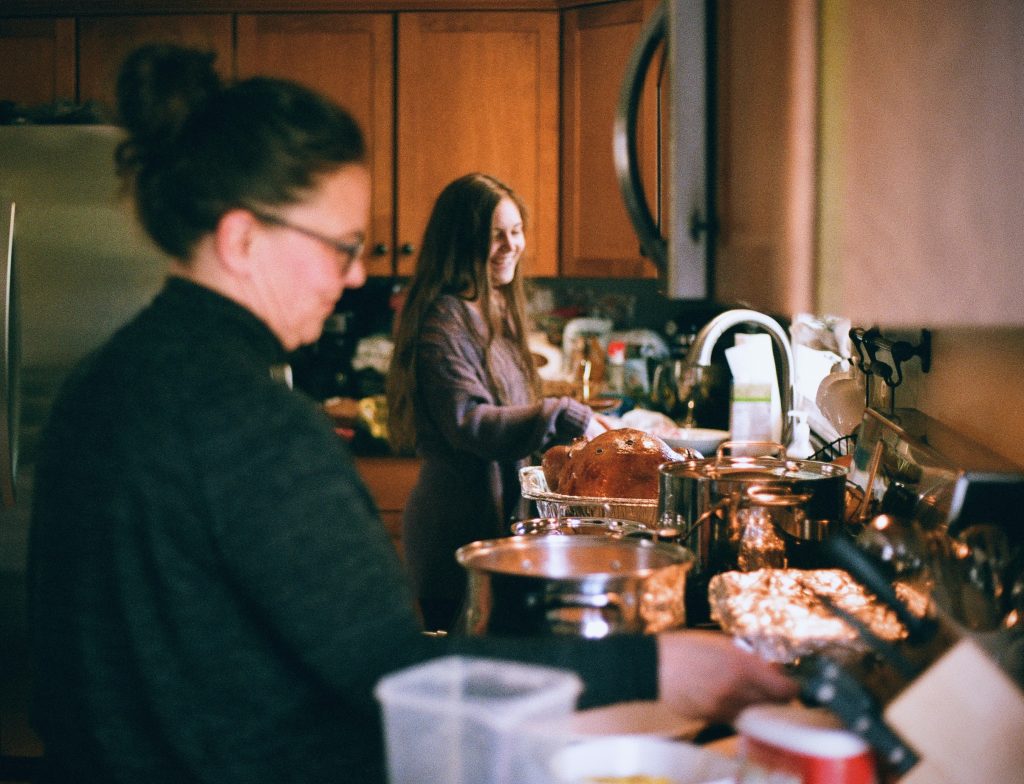
In this final lesson, Chef Briwa shares a few tips for putting all the knowledge of cooking together to craft a multi-course meal. He gives two general tips:
- Don’t make a multi-course meal in one sitting or you’ll learn to hate cooking. Take breaks and prepare a couple dishes or aspects of dishes ahead of time.
- The first course should be fun and engaging for more of the senses than just taste.
He then makes a 3-course meal with,
- Spanish tortilla and homemade mayonnaise
- Potato gnocchi and pesto sauce
- Pineapple and banana butter turnovers.
To put his tips into practice, Chef Briwa says you can make the Spanish tortilla and mayonnaise a couple of hours ahead. The Spanish tortilla is tasty at room temperature and the mayonnaise can be kept in the fridge. You can also prepare the potato gnocchi dough days ahead and freeze it. The pesto can be kept in the fridge for up to a week. Lastly, you can make the pineapple and banana butter days ahead and buy commercial puff pastry instead of homemaking it. Even if you do use homemade puff pastry, it can be frozen, too.
In this example, once you are preparing to serve the meal, all you have to do is boil the gnocchi, make the pesto sauce (pesto plus pasta water from the gnocchi), simmer the boiled gnocchi in the pesto sauce, and put the turnovers together and bake them. This’ll keep you busy for maybe half an hour, but that’s much less intensive than if you spent hours preparing all three courses of the meal without breaks.
That’s all I have to say about this course. While these Daily Learning posts only covered the last few episodes of the course, I hope you learned a few things. I learned a lot from the course and I will definitely return to my notes often to review techniques, tips, and recipes.
Images are by Maksym Kaharlytskyi (featured image), Scott Warman, Isaac Owen, and Pel on Unsplash.